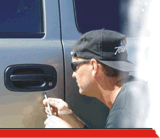
New Product...

Door Lock Cover Kit
LockCap™
|
|---|
| Top of page |
| Top of page |
| Top of page |
|
|---|
LockCap™ installation is easy! Anyone can do this...
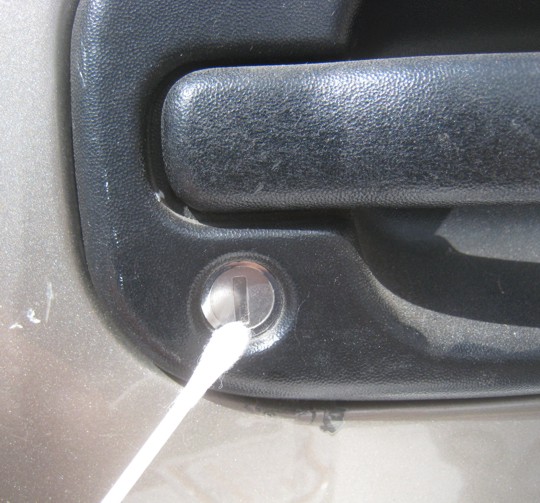 |
Step 1: Clean the lock face with rubbing alcohol. Let dry 1 minute. |
|---|---|
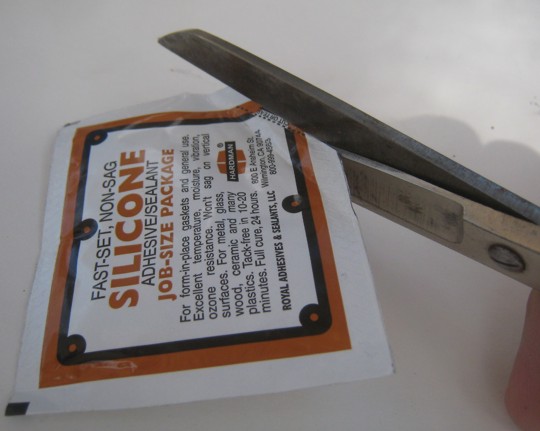
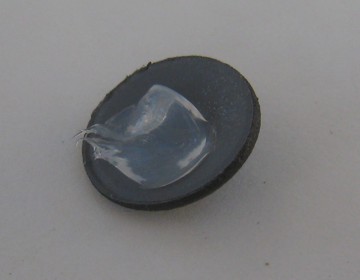
Step 2: Open the supplied adhesive. |
 |
|
Step 3: Not too much is needed. Just enough to make good contact with the lock face. |
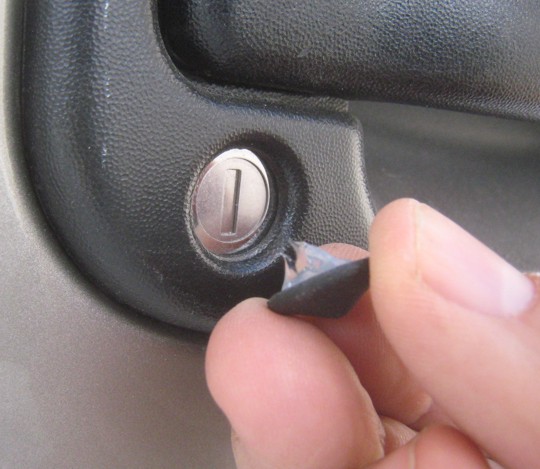
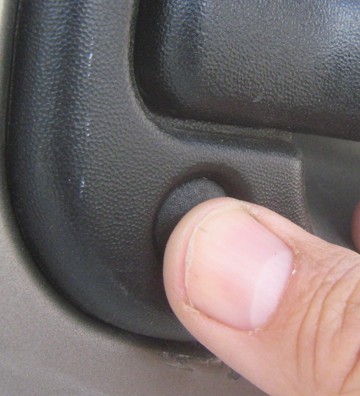
Step 4: Place LockCap™ onto face of lock. |
 |
 |
Step 5:
|
Step 6: |
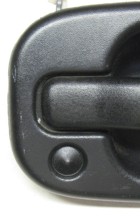 |
Standard finish on the LockCap™ is textured black paint, closely matching the factory handle. For colored handles, the LockCap™ can easily be painted to match the handle using factory touch-up paint. |
 © Redline Technical Group, Inc.1998-Current |

Additional links and information...
LockCap™ Model Selection Ready to purchase? Find out Where to Buy. Have additional questions? Visit our LockCap™ and PunchPlug™ FAQs page. Want to become a dealer for our products? Click here. |
|---|